
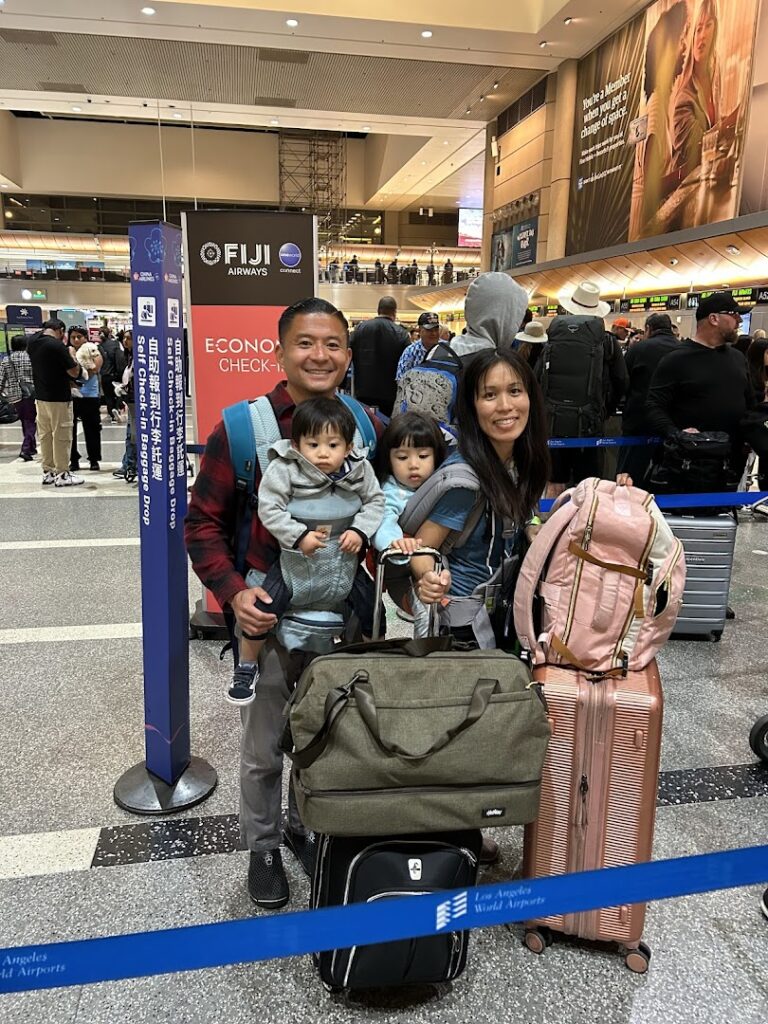
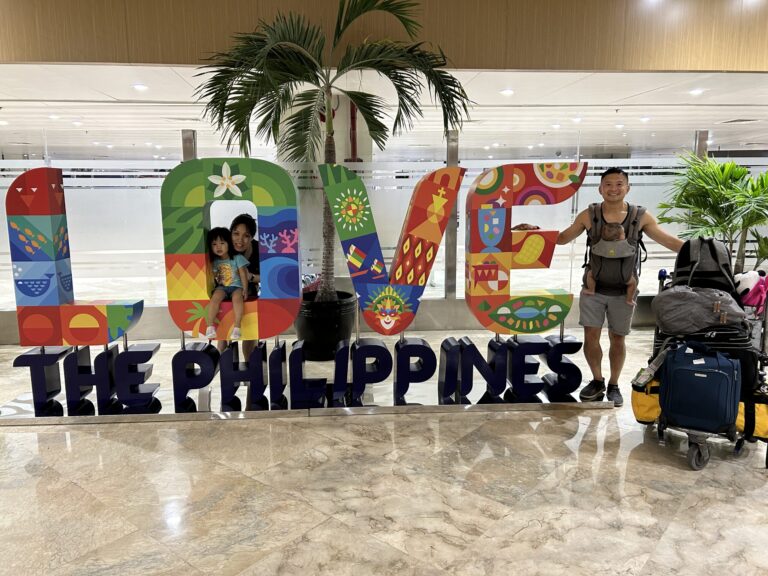
My husband, Bryan, and I wanted to take our baby, Huntington, to the Philippines before my maternity leave ended, so we needed a passport and passport photo asap. At the time, he was about 2 months, and by the time we were going to fly, he would be 5 months. We looked up several places for passport appointments and snatched the earliest appointment, which was at the Garden Grove US Post Office. Since they required both parents to be there (or you have to do additional notarized paperwork if there is only 1 parent present), Bryan and I, both on parental leave, showed up excitedly to cross off one to-do item off our checklist, with baby in arm and a completed application in hand. We expected to take the passport photo and complete the entire process right then and there, just like we did with Serena when she was 1, but the USPS worker informed us that she can’t take photos for babies. Huh? That’s not anywhere on your website!
Crap. So we took our completed application home and researched other places that take and print passport photos. Apparently, Costco, CVS, Walgreens, and Walmart all take passport photos, but not all will do it for babies. Then I started getting thinking about multiple scenarios in my mind, as all moms do. How will this work if Huntington can’t sit yet? Will he be happy? What if he is crying the whole time? How do I time the photo so that he has a neutral expression? If he cries during the appointment, are we going to have to come back again? Finally, after a Google search (this is what I do when my mind is bubbling with questions), I stumbled upon instructions to take passport pictures at home, and I realized…it’s so easy!
I mostly did this at home because I was worried about timing a 2-month baby around eating and nap time when he didn’t exactly have a good routine yet, not knowing if he would cry or not when I brought him to the store. However, saving $10-$15 by taking it myself with a phone camera didn’t hurt either.
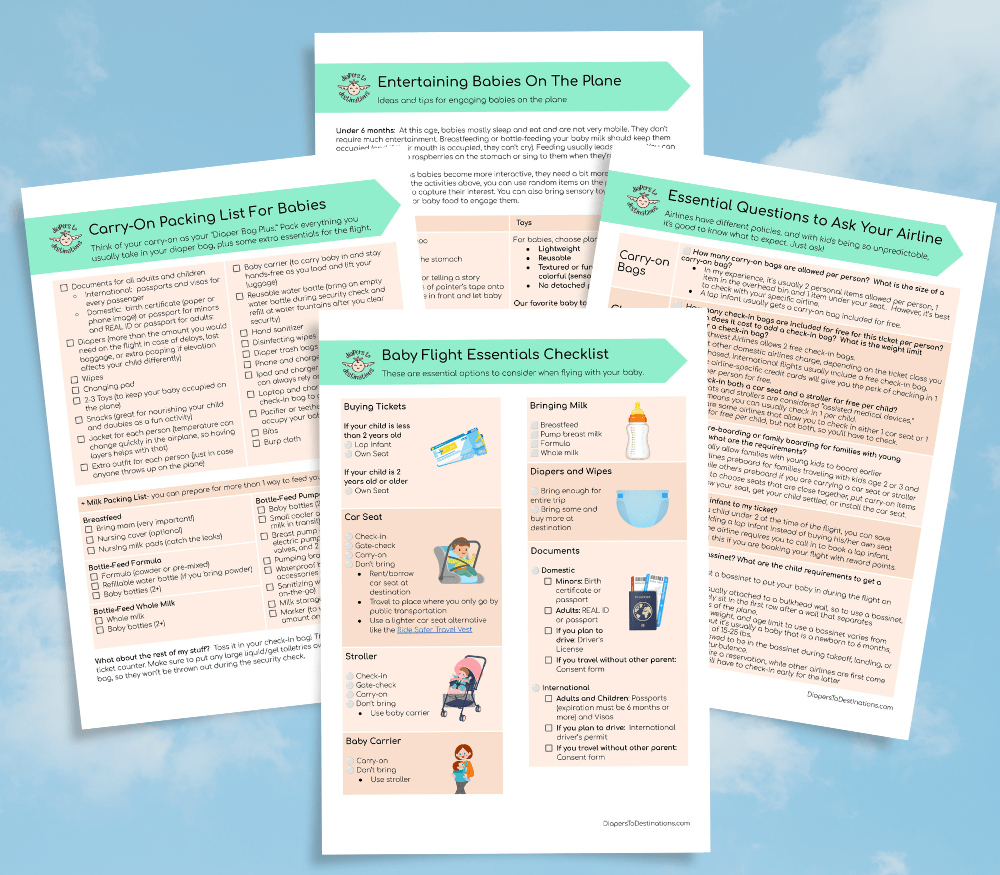
Flying With a Baby Soon?
Get my free Baby Flight Checklist so you don’t forget the things that can make flying with a baby way easier and way less stressful.
Steps to get passport photo
Take the photo of baby on a white sheet
At 2 months, Huntington couldn’t sit up by himself, or even turn yet. We have a bed with white sheets near a window. After I fed Huntington, I placed him down on white sheets and opened the window shades to get some natural light in the room. Then I took pictures of him using my cell phone camera.
If you want to take a picture of a child or adult that can sit or stand independently, then you can use a white wall or white sheet backdrop instead of laying on a white bed.
To take the photo, I made sure
- his eyes were open, ideally looking at the camera
- the photo has his entire head with some space above his head and a little bit of his shoulders (think of a bust statue)
- the photo was pointed directly straight to his face (not a side angle of his chin or cheek)
- no flash
- no glasses
- no jewelry
- no hats
- window was open so we could get natural light
You can also see photo examples and requirements on Travel State Gov website.
Resize photo to correct passport size and proportions
Use a free online tool, https://makepassportphoto.com, to resize the photo to 2×2 and to match the proportion of the head it should be.


Get the photo printed
I uploaded a single 4×6 photo to Walmart photo services, which had 6 passport photos, at Walmart. It costed $0.14 and was printed in less than 1 hour. I was super proud of myself for being a bargain shopper and bragged to Bryan about it. I mean…how many things can you get under a dollar nowadays?


What about you?
Have you ever taken a passport photo at home? If so, was it for you or a child or someone else? Leave a comment below.
Please share this with anyone who is trying to get a new passport or renewing their passport.
Resources
US Government Requirements for US Passport
Ready for Your Trip?
Download my free Baby Flight Checklist so you can feel more prepared and less stressed before your next flight with your baby.


3 Comments