Vietnam isn’t just a stamp in my passport—it’s my roots. My parents were born there.
I grew up in the U.S. on a steady diet of rice dishes, bedtime stories about my mom’s childhood in Vietnam, and dubbed Chinese dramas—those classic soap operas dubbed in Vietnamese—that played in the background while my grandma took care of us after school.
I’d been before—studied abroad in Hanoi, took Vietnamese classes in Ho Chi Minh City—but this trip? It hit different.
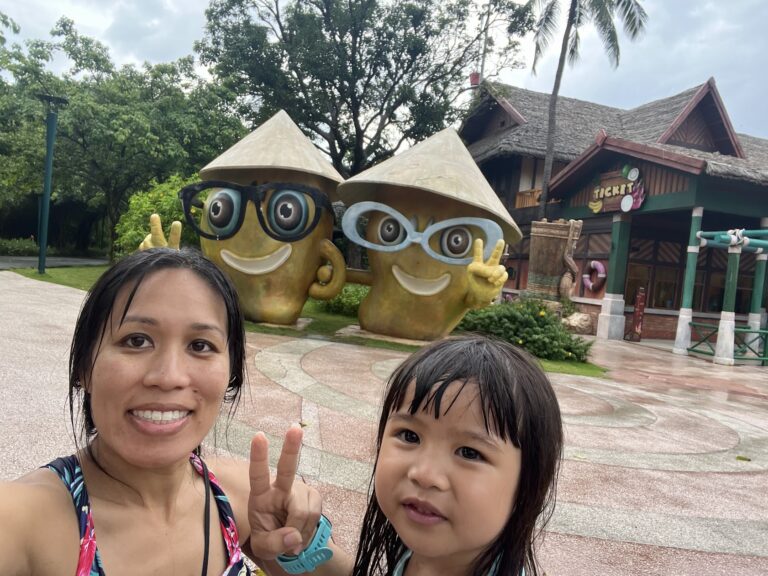
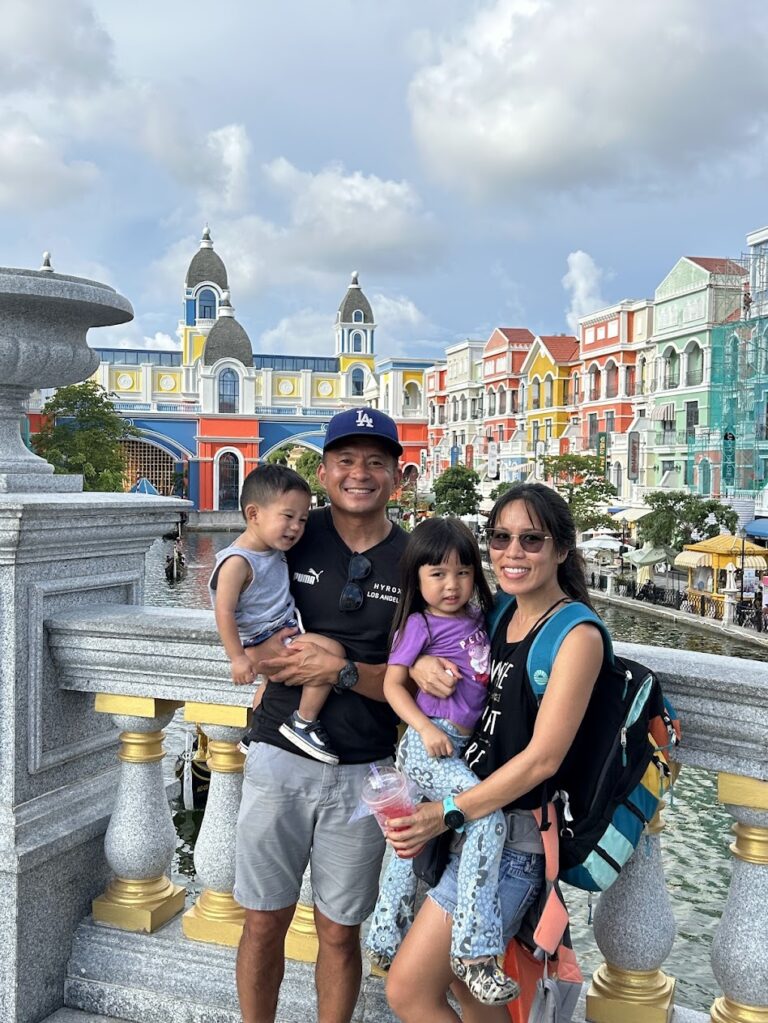
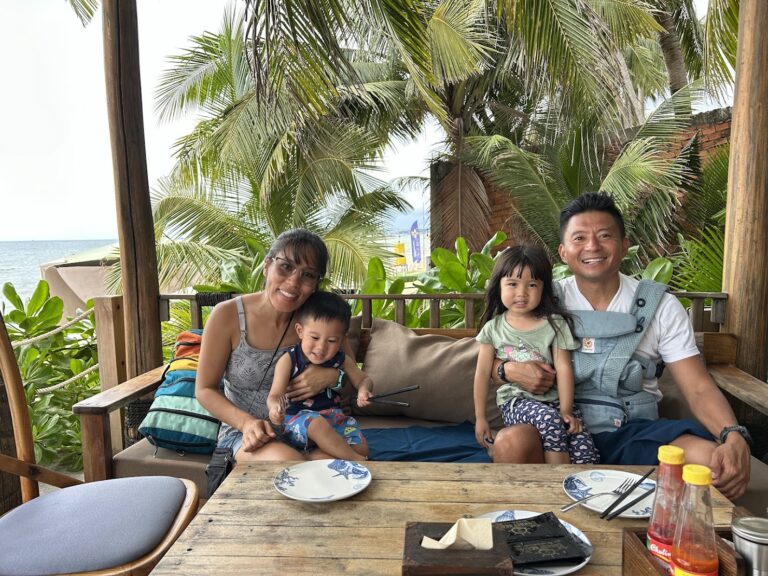
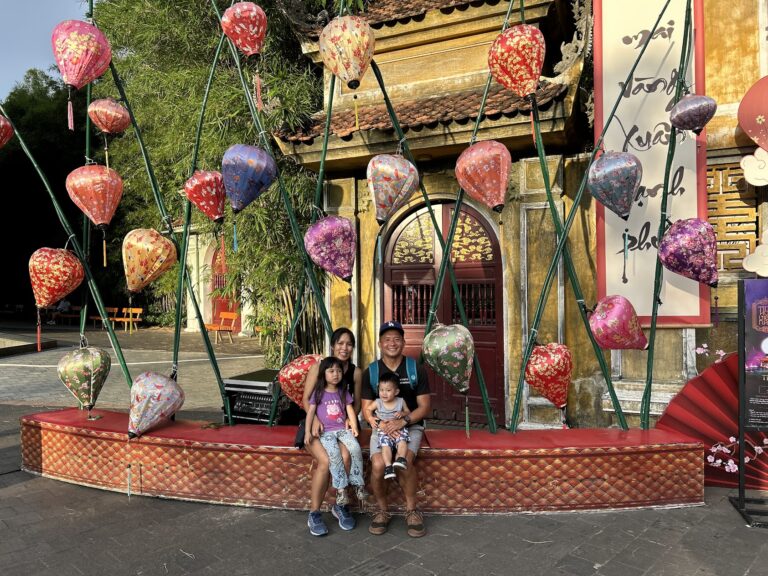
This time, I was coming back as a mom. With 2 toddlers in tow, a backpack full of snacks and diapers, and a heart full of hope that I could show my kids where part of them comes from.
What I didn’t expect? A visa mistake that cost us $1,020 and nearly blew up our entire family trip.
Turns out, applying for a Vietnam visa for US citizens isn’t as simple as it used to be. Gone are the days of visa-on-arrival. Now, you need to apply for a Vietnam e-visa in advance—and do it right.
I didn’t.
We made just about every mistake you shouldn’t make when applying for a Vietnam e-visa:
- 💸 My husband paid through a third-party site (you know, one of those sponsored ones that pop up at the top of Google). I realized it too late and emailed them for a refund — which they gave most of it back, but still kept a small chunk.
- 📸 Then, when he went through the official Vietnam visa website, he uploaded blurry photos — which got flagged with a low match score, aka the system’s way of saying “Try again.”
- ⏰When it was finally my turn to take over the visa process, I waited too long to submit everything. I kept thinking, Eh, you can always get it on arrival — which was true back when I studied abroad, but not anymore.
The result? We ended up shelling out $1,020 for a one-hour emergency visa for four people. Oof.
😩 All of this… with two toddlers in tow — 10/10 do not recommend
This post is everything I wish I had known—plus a few lessons I learned the hard (and expensive) way. Whether you’re visiting Vietnam for the first time or coming back like I did, here’s how to apply for a Vietnam visa as a US citizen without the chaos.
Our Favorite Tools for Traveling to Vietnam with Kids
- 🌍 Travel Medical Insurance (SafetyWing) – We always use this for international trips… especially with kids
- 🏨 Booking.com – I filter for stays that have free breakfast + central locations to make life easier
- 🌐 Airalo eSIM – this lets me use data to look up places, check directions, translate things, and even call local spots when I need to… no relying on WiFi
- 👜 Tobiq 30L Duffel – My go-to carry-on bag for long travel days. Built-in color-coded pockets keep everything organized. (Includes a 15% off code!)
👉 Want all my favorite travel gear? I put everything I actually use here
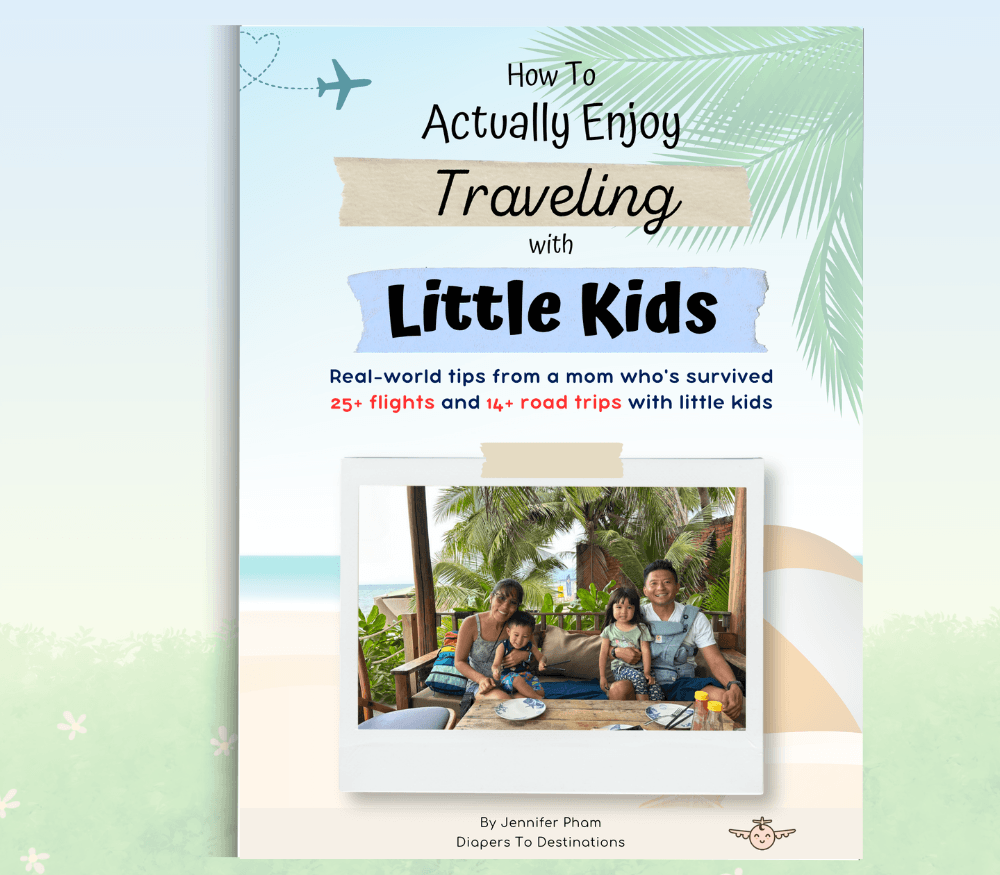
How to Actually Enjoy Traveling With Little Kids
Get real-world tips for traveling with babies, toddlers, and little kids, so you can spend less time stressing and more time making memories.
Vietnam E-Visa for US Citizens
The Vietnam e-visa is the easiest and most common way for U.S. citizens to get permission to enter the country—and it’s fully online.
Once approved, the e-visa is your actual visa (not a pre-approval). It’s a printable PDF document with your passport number and travel details.
Print the e-visa and bring it with you—you’ll need to show it when checking in for your flight and again at immigration.
Here’s what you need to know:
- E-visa is required for U.S. passport holders to enter Vietnam
- Valid for up to 90 days
- Choose between:
- Single-entry: $25 USD
- Multiple-entry: $50 USD
- Must enter and exit through designated international border gates (international Vietnam airports count)
- Processing time: usually 3 business days (weekends and public holidays not included)
- Non-refundable, even if:
- Your application is denied due to an error
- Your travel plans change and you don’t end up using the visa
To apply directly, use the official government site: evisa.gov.vn
⚠️ Be careful—many third-party websites look official in search results but are not affiliated with the Vietnamese government. They charge a markup to process your visa (in our case, $97 per person instead of $25 per person through the official government website)
How to Apply for a Vietnam Visa Online (Step-by-Step)
Applying for a Vietnam e-visa as a U.S. citizen isn’t hard—but it can be confusing the first time you go through it. Here’s exactly what to expect:
1. Fill Out the Application Online
📸 Photo Requirements

- Upload a passport-style headshot
- Must be vertical, white background, no hat, no glasses, and taken within the last 6 months
- Upload a clear image of your passport info page
- The official website will show a match percentage and whether you need to upload another one or not.
👤 Personal Info

- Full name, date of birth, nationality
- Be careful with name formatting:
- Surname = Last name
- Middle and First Name = Just follow the exact order as printed in your passport (This was confusing to me because the form label says “Middle” first, but on my passport it is first name and then middle name)
📅 Visa Request

- Single-entry: $25 USD — valid for one entry only; re-entry requires a new visa
- Multiple-entry: $50 USD — ideal if you plan to visit other countries during your trip but return to Vietnam
- E-visa valid only for the exact entry and exit dates you choose when applying (written day/month/year, not month/day/year like in the U.S.)
- Apply for the full 90 days, even if you plan to stay less — plans can change unexpectedly
- When my father-in-law passed away, we had to cancel our flights and rebook later. If we had applied for the full 90 days, it would’ve saved us both time and money — we still went to Vietnam, just a month later than planned.
- Also, I hear of some people getting sick in Vietnam or liking it so much they want to stay longer and changing their departure date
📅 Passport Info

- Type = Ordinary passport
- I dug into passport types. I think for most of us non-diplomats, it’ll be “Ordinary Passport”
🏨 Contact Info + Address + Emergency Contact

- Permanent residential address = where you live
- Contact address = where you are going to stay
- If you’re going to stay at multiple addresses, list the first address you’re going to.
- Not sure about the ward/commune? Just ask your hotel or your host.
- I messaged our hotel through the Booking.com app, and they replied with the exact info I needed.
📅 Occupation (Optional)

- Occupation — straight forward and also optional!
📅 Trip Info

- Entry dates (written day/month/year, not month/day/year like in the U.S.)
- Residential address in Vietnam = where you are going to stay
- If you’re going to stay at multiple addresses, list the first address you’re going to.
- Not sure about the ward/commune? Just ask your hotel or your host.
👧 Skip the “Add Children” Section!

- The U.S. doesn’t issue family passports. That means every U.S. citizen (including babies and toddlers) must have their own passport to travel.
- If your child doesn’t yet have a passport, you’ll need to apply for one before you can submit the visa application.
- Because of this, you can ignore the “child on your passport” section of the e-visa form—that applies only to countries where kids are listed under a parent’s passport.
- Instead, fill out a separate e-visa application for each child who has their own U.S. passport.
Takeaway:
Every U.S. citizen = 1 passport + 1 visa
Example:
Our family has 4 people — 2 adults, a 1-year-old, and a 3-year-old.
We came with 4 U.S. passports and submitted 4 separate visa applications.
💰 Expenses & Insurance

- You’ll be asked to estimate your trip expenses
- You’ll also be asked if you have travel insurance
- Just answer honestly—these questions don’t affect your approval
2. Complete Payment

- Submitting the application doesn’t mean you’re done. You must login again and complete the payment—otherwise your visa won’t be processed.
- Cost: $25 USD (single-entry) or $50 USD (multiple-entry)
- Non-refundable—even if you make a mistake, get denied, or don’t use the visa
3. Receive Your E-Visa

- Processing time is usually 3 business days
- You’ll receive an email notification that your e-visa application has been processed
- Log back into the portal. If you got approved, you can download your PDF e-visa document
- Print at least 2 copies—one for airline check-in, one for immigration
Family Travel Tip: If you’re applying for multiple family members, set aside some quiet time and do all applications in one sitting. It can feel repetitive, but it’s much less stressful than spreading it out and forgetting where you left off.
Planning a Trip With Little Kids?
I’ve made plenty of mistakes over the years. This free guide shares the travel tips that have helped our family survive flights, road trips, missed naps, and toddler meltdowns while still making memories.
Mistakes to Avoid with Your Vietnam Visa Application
I’ve made the mistakes—so you don’t have to. 🙃
Here are the biggest things I wish I’d known before applying for our Vietnam visas:
💻 Booking Through a Third Party Website

My husband originally booked our Vietnam visas through a third-party website that looked official—but wasn’t. When you Google “Vietnam visa,” several sponsored ads appear at the top of the results, and it’s easy to mistake them for the real deal. These companies charged us $97 per person, compared to the $25 fee on the official government site.
I’ll admit—their application form was much more user-friendly and intuitive than the official one.
Thankfully, when I noticed the price difference, we canceled the order before it was processed. We received most (but not all) of our money back. If they had already started working on the application, we likely wouldn’t have been refunded at all.
Lesson: Only apply at evisa.gov.vn. (Notice “.gov,” which signals that it is an official government website)
📸 Blurry Photos = Low Match Score

My husband tried to submit our first batch of applications, but couldn’t achieve a match because they were blurry and he couldn’t get a good match score. Even if your info is correct, a poor-quality headshot or passport scan can cause rejection.
After my husband did it and got denied, I was next up to bat. I had the kids (1.5 and 3.5) stand up against our white wall and took a picture.
Also, if the photo of your passport comes out a little blurry, try zooming out or backing up and sometimes the text sharpens. That trick helped me.
Lesson: Use natural lighting, no shadows, and make sure everything is crisp and clear. Use a white background (possibly the wall of your house).
❌ Applying Too Late
This one stung. Once we got denied, I applied again.
I submitted our visa applications on a Friday for a Monday night flight, thinking, “It’ll get approved before we land—no big deal.”
Wrong.
We weren’t allowed to board at LAX without printed visa approval letters—and I had none. I had to pay $255 per person for a rush visa just to get on the plane. Ouch.
If you do find yourself in the same last-minute panic, this is the rush visa service I used that got us approved in 1 hour—and saved our trip.
The Vietnam e-visa takes about 3 business days to process, and weekends and public holidays don’t count.
Lesson: Apply at least 1–2 weeks before your departure date. Leave some buffer time (more buffer time around the Lunar New Year (Tet)). Just in case you get rejected, you’ll still have time to apply again.
💸 Skipping the Payment Step

This part tripped me up: After you fill out the e-visa application form, you’ll get a confirmation email that says:
“To complete your application, please proceed with the e-visa fee payment as required to finalize the process.”
But here’s the catch—you have to go back to the evisa.gov.vn site, log in again, and make the payment separately. It’s not like a typical online shopping experience where you “submit + pay” in one flow.
Lesson: Submitting the application doesn’t mean you’re done. You must go back in and complete the payment—otherwise your visa won’t be processed.
🌀 Getting Confused by the Form
The formatting on the Vietnam e-visa site is not intuitive.
- Name order is different than what we’re used to in the U.S.:
- “Surname” is your last name
- “Middle and First Name” should match your passport exactly
- What threw me off was the order it was written on the form—why is middle listed before first?
But don’t overthink it—just follow the order on your passport.
For U.S. passport holders, that means: [First] [Middle].
- What threw me off was the order it was written on the form—why is middle listed before first?
- Dates are written day/month/year (Day before month…not the American way!)
- If you don’t know the ward/commune address, then Google maps or your hotel can help (It wasn’t obvious to me through Google maps, so I reached out to the hotel through booking.com and they answered my question quickly)
- And don’t forget: Every person, even a baby, needs a separate visa. (And yep—we learned this and so much more during our month-long Vietnam family trip.)
What I’d Do Next Time (and What You Should Too)
If I could go back and redo the whole visa process, here’s exactly what I’d do differently—so you can avoid the same stress (and $1,020 mistake 😩).
✅ Double-Check Visa Requirements (Early)
Even if you’ve been to Vietnam before, don’t assume the visa process is the same. It changes!
I used to get a visa on arrival (I had been to Vietnam 4 times before this trip with my family), but now you must apply in advance—and show the approval letter before you even board your flight.
✅ Give Yourself at Least 2 Weeks (More During Holidays)
The official processing time is 3–7 business days—but that’s if everything goes smoothly.
- If your photo is blurry or info is off, your application could get rejected and you’ll have to reapply and pay again
- And if you’re applying around a Vietnamese holiday—especially Lunar New Year (Tết)—processing can be delayed significantly
Lesson: Apply at least 2 weeks in advance, and even earlier if you’re traveling near any major holidays.
If you do find yourself in the same last-minute panic, this is the rush visa service I used that got us approved in 1 hour—and saved our trip.
✅ Apply for the Full 90 Days
We applied for visas that matched our travel dates exactly. But when my father-in-law passed, that changed our itinerary, we had to reapply. and pay again.
Lesson: Apply for the maximum length allowed (90 days) just in case your plans shift. It doesn’t cost extra!
✅ Use the Official Website

This is the only site you need: https://evisa.gov.vn
Avoid the third-party sites unless you absolutely need help—and even then, double-check the fine print.
The Emergency Visa Rush Service That Saved Us
Okay, real talk: if you mess up your visa timing like I did (hi, it’s me), here’s what saved us—Vietnam-Visa.com.
We had arrived to LAX airport early with our 2 little ones, 4 hours before our flight. I was under the imporession that no big deal, as long as we have the approval by the time we land in Vietnam, it’ll be ok (transportation time gave us an extra day).
Totally wrong. with no visa approval in sight. I was spiraling. Then I found this company’s WhatsApp number through their site and messaged them immediately.


Here’s what they needed:
- Our flight tickets
- How long we’d be in Vietnam
- Arrival and departure airports + dates
- Passport photos for each person
They sent me a secure payment link, and I paid for the super urgent service:
➡️ $255 per person for a 1-hour turnaround, including:
- Visa pre-approval letter
- Immigration fast-track
- Visa stamping on arrival
And… they delivered. Within 1 hour, we had the approval letter. We boarded our flight and made it to Vietnam.
They also offer a 1 working day turnaround:
- $110 per person for just the approval letter
- $190 per person with approval letter, stamping, and immigration fast track
Would I recommend cutting it that close? Absolutely not.
But if you’re in a bind and need a reliable, fast service—this is who helped us, and I’m honestly so grateful.
This near-miss was also a reminder to always plan ahead—especially when flying with little kids.
Pro Tips for Families Traveling to Vietnam
Bringing little kids to Vietnam? You can totally do it—and it’s so worth it. But a little planning goes a long way. Here’s what helped us (and what I wish I’d known earlier):
- Every kid needs their own passport + visa
Yep, even your baby. U.S. passports are one-per-person—no adding kids to yours.- 👉 We use this passport holder to keep all four of ours organized—it makes airport check-ins way easier.
- Snacks + surprise toys = lifesavers
Long lines + cranky toddlers = chaos. Pack snacks, water, and a couple of meltdown-busting toys just in case.- 👉 Check out this list of activities and travel toys for toddlers that saved our sanity throughout multiple long and short flights.
- Book your hotel in advance
I use Booking.com for its family-friendly filters, affordable prices, and huge hotel selection. There are tons of reviews to help you pick the right spot, and many listings offer free cancellation (just double-check the fine print). Plus, it’s super helpful for grabbing the exact address you’ll need for the visa application. - Set up an eSIM before you land
Don’t gamble on airport Wi-Fi. I still remember landing in Phú Quốc and not being able to get online—not fun with tired kids in tow.- 👉 With Airalo, you can get instant, affordable data you can activate before you even leave home.
- Bring an international adapter
You’ll definitely need one in Vietnam—and I recommend this international travel adapter because it works with 3-prong plugs and has a safety button on the side to keep little fingers out of the metal parts. - Don’t skip travel health insurance
It’s one of those things you hope you never need—but if you do, you’ll be so glad you have it.- We use the SafetyWing because it covers emergencies, hospital visits, trip delays, and more—without being crazy expensive. You can even buy it while you’re already abroad, which is a lifesaver for families mid-trip.
👶 Want More Real Talk on Family Travel?
Thinking of a Vietnam family trip?
Check out my honest take: Vietnam Family Trip Tips: Unfiltered Advice After a Month with 2 Toddlers.
I share everything I wish I knew—like how to avoid food safety issues, what to pack, and what helped us stay sane.
FAQs: Vietnam Visa for U.S. Citizens (Especially Families)
Do U.S. citizens need a visa to enter Vietnam
Yes—if you’re a U.S. passport holder, you must apply for a visa before traveling to Vietnam, unless you’re visiting Phú Quốc only for under 30 days with no stops on the mainland. Everyone else? Visa required.
If you’re planning to visit Phu Quoc with kids, check out my guide to the best things to do in Phú Quốc with toddlers and little kids.
How do I apply for a Vietnam visa as a U.S. citizen
You can apply online through the official Vietnam e-visa site: evisa.gov.vn.
It’s a bit clunky (trust me, I’ve been through it), but it works. Just be prepared to upload a passport photo and a clear scan of your passport info page. And don’t forget to go back in and pay after submitting the form—it’s a two-step process!
How much does a Vietnam visa cost
$25 for a single-entry visa
$50 for a multiple-entry visa.
Both are valid for up to 90 days. Heads up: The fee is non-refundable, even if your application is rejected for something like a blurry photo (been there 😩).
What are the requirements for a Vietnam visa
You’ll need:
- A valid U.S. passport
- A recent passport-style photo (white background headshot without glasses or hat)
- A clear image of your passport info page
- Personal and travel details (name, DOB, address, arrival info, etc.)
- An address in Vietnam (ask your hotel for help if you’re unsure!)
- Payment of the visa fee via the e-visa portal
Do kids need a visa to go to Vietnam
Absolutely! Even babies and toddlers need their own:
- U.S. passport
- Individual visa application Skip the “Add child” section on the form—it doesn’t apply to U.S. citizens. For our family of four (two adults, a 1-year-old, and a 3-year-old), we submitted four separate visa applications.
Is the Vietnam visa fee different for kids?
Nope—it’s the same for kids and adults.
The price is $25 each for single-entry visas and $50 each person for multiple-entry visas for up to 90 days.
Final Thoughts: Don’t Let the Visa Stop You

Vietnam is one of the most beautiful, vibrant, and delicious places I’ve ever been—and I say that not just as a Vietnamese-American, but as a mom who’s traveled there with a full-on family.
Yes, the visa process is a bit clunky. Yes, it can be confusing the first time.
But once you know what to expect (and what not to do 👀), it’s completely doable.
So don’t let a paperwork hiccup hold you back from exploring a country filled with warm people, unforgettable food, and stories your family will carry forever.
If you’ve got questions, drop them in the comments—or share your own visa horror story so I know I’m not alone. 😅

Ready to Actually Enjoy Your Next Family Vacation?
Get my free guide with the family travel tips I wish someone had told me before our first trip with kids. You’ll learn how to pack smarter, stress less, and actually look forward to vacation again.
Other Posts You’ll Want to Peek At